|
SpaceRay
|
Bomber Plus does not have the same Chances connections that bomber does to control the position of particles, but really this is not true, because what has changed is the name of it, as the chances option is now available in the Opacity that works in the same way
Using the well done and good 80 Lines Game by Ramlyn I show how he has done it in a good way So what you need to do is connect to the Opacity a Black and white source image or a group of FF component that make a black and white shape if you want to have sharp edges. If you want to have a variable edges or not exactly distribution you can use greyscale images Considering the following to control the chances Pure black = 0 particles added by bomber plus Pure White = 100% chance of bomber plus adding particles here Greyscale - Depending on how near or far from either black or white will give the % of the chances to appear. All the grey values between black and white will modify the chances gradually and make it a chances gradient instead of a sharp result For example for having a sharp order following the shape given by the black and white shape, for this example is needed to keep all the values to cero and use the size, repeat and density until it fills the shape you have put  |
|||||
| Posted: May 16, 2020 3:35 am | ||||||
|
SpaceRay
|
or have some 50 Size Chaos
 |
|||||
| Posted: May 16, 2020 3:46 am | ||||||
|
SpaceRay
|
You can also use any source image that needs to be converted either to black and white or to greyscale for it to work correctly for chances
You can use the simple Threshold component applied to the source image and adjust the values to what you may want, here I use 50  |
|||||
| Posted: May 16, 2020 4:24 am | ||||||
|
SpaceRay
|
And this with above values of bomber at 0 and change only the Size Chaos to 50
 |
|||||
| Posted: May 16, 2020 4:29 am | ||||||
|
SpaceRay
|
Maybe if the black conversion with Threshold with Smooth value 0 does not give the result you wanted or maybe if the simple threshold is not giving the result you want and wish a better black and white conversion you can use any of the many available filters to convert to black and white )
To use this option, you either can load the result of these filters as a color control or image in the Opacity of bomber or copy the choosen whole filter that makes the conversion and put it inside your filter to make the conversion that connects to the Opacity SOURCE IMAGE GREYSCALE When using a Black and white source image all the particles have exactly same intensity and does not have any kind of transparency If you want instead to use a Greyscale input to the Opacity, You can also use Threshold with smooth values or maybe better is the Desaturate component with the source image, and then if needed, use any of the Adjustment components to make it reach to the point that may give the results you may want Be aware of the transparency that appears on the particles if you use a grayscale Image, as the areas that are not either fully black or white will have the result with some difference in opacity according to the grey value and they then will have some kind of transparency depending on how much near the grey is from white Changes also the shades of color of particles - Also is not only the transparency, is also that depending of the opacity it will change also the colors and shades of the particles and will not be exactly the same each one, as it happens when you use a black and white image in the Opacity This may not be a problem perhaps if you do not mix the particles as shown here or if what you want is really this effect  |
|||||
| Posted: May 16, 2020 5:15 am | ||||||
|
SpaceRay
|
If you modify the settings and then the particles are mixed and as some of them have some transparency the others will be shown through the transparency, so this could be a problem or not depending of what you want to achieve.
So, if you really want to have some transparency on some of the particles and that other particles can be seen through other particles then you should use the grayscale instead of only black and white Also consider that the transparency will give perhaps depending of the image, some visual "shadow" as the opacity of the particles will depend on the different levels of grey Here is an example of converting the source image just only with the Desaturate component and nothing else (as said above, you can use the Adjustments component to further modify the greyscale) As you can see the red is not the same on all the particles and there also some kind of shadow effect and layering, that is not bad if you want this effect  |
|||||
| Posted: May 16, 2020 6:53 am | ||||||
|
SpaceRay
|
All the above examples use Repeat = 20 and Density = 2
----------------------------------------------------------------------- OTHER POSSIBLE COMPONENTS THAT CAN BE CONNECTED TO THE OPACITY TO CONTROL THE CHANCES ----------------------------------------------------------------------- Really any FF component (or combination of components) that can make an output of black and white or greyscale output can be connected to the Opacity in bomber plus to control chances CHECKER COMPONENT The Checker component is also a good component that could be used as it uses Black or White, or the shade of color you may want, if you put a color instead of a grey, it will be converted to the nearest grey value of that color. You could use checker to combine two bomber results into one if you invert the checker in one of them.  |
|||||
| Posted: May 16, 2020 6:59 am | ||||||
|
SpaceRay
|
NOISES COMPONENTS
You can also use any of the Noises components available to modify and control the Opacity chances in Bomber The default noises are greyscale and may not give good results with the default values, so you can modify the values or uses other components to modify the output So, If you want sharp Noises and that give better results, you may use them combined with High Pass, Threshold, Invert and/or Adjustments components to modify the Noise output and then connect it to the Opacity in Bomber plus Consider to use the Invert when you want that the area that you want to use it is black and you need it to be white, as I have said above white = 100% particles, and Black is 0%  |
|||||
| Posted: May 16, 2020 6:59 am | ||||||
|
SpaceRay
|
Maybe this one is better for Noises as is needed to have possibly a high contrast (maybe above 50) and details must be zero for having clean lines
 |
|||||
| Posted: May 16, 2020 12:39 pm | ||||||
|
SpaceRay
|
and here is the result with bomber plus using the last Invert component of the fourth row above after high pass
In this one the Repeat is increased to 43 and Density = 2 but the stars overlap  |
|||||
| Posted: May 16, 2020 12:48 pm | ||||||
|
SpaceRay
|
Here is a more clean one with Repeat 43 but Density = 1
The problem I see is that you need to have probably a higher repeat value to make the particles follow correctly the white parts of the noises, and having a high repeat will reduce the size of the particles If you reduce the number of repeats you can have bigger particles, but it will loose the original shape given by the noise component, unless the noise output given is bigger and in a different way configured to be adapted to the bomber to get bigger particles.  |
|||||
| Posted: May 16, 2020 1:02 pm | ||||||
|
SpaceRay
|
GRADIENT COMPONENTS
You can use any of the gradient components (for Elevation gradient you need to give a elevation source before using it) connected to the Opacity but as I have already told above for the Greyscale images, you will get a lot of variable transparency of the particles according to how much the grey values are from black You will get a distribution of the particles starting from the white part that will go down in opacity until dissappear in the black, it will follow the direction For example using the default Profile gradient  |
|||||
| Posted: May 16, 2020 1:25 pm | ||||||
|
SpaceRay
|
or mixing a little them with offset values in bomber
 |
|||||
| Posted: May 16, 2020 1:42 pm | ||||||
|
SpaceRay
|
and this maybe could be used with a background and mix the particles with the background in some way
 |
|||||
| Posted: May 16, 2020 1:49 pm | ||||||
|
SpaceRay
|
TILES, BRICKS AND PAVEMENT COMPONENTS
These components can also make black and white images in grids if you put the tiles to black and the mortar to white and increase the mortar value to make the white grid as you may want This example is using Repeat 25 and Density 1 see that the outer border of the tiles is not taken by Bomber and only shows the internal mortar lines  |
|||||
| Posted: May 16, 2020 2:00 pm | ||||||
|
SpaceRay
|
and the other way making the mortar black and the tiles white gives this below
Be aware in this one you must be very careful selecting the repeat values, as for example in the example below you must use only 23 repeat with the tiles values given above, because if you use any other value it will NOT show the tiles content in the same way and will break the tiles mask Bomber Repeat 23 and Density 1 with the tiles setting above gives all the squares with 3 rows of stars as shown here below  |
|||||
| Posted: May 16, 2020 2:19 pm | ||||||
|
SpaceRay
|
ANY OF THE POLYGON, ELLIPSE AND RECTANGLE COMPONENTS IN PATTERNS
In the first post I have put already that you can use the Polygon component as a source of mask for Opacity, and is shown with Bevel Width = 0 to have sharp edges and all the particles without transparency But if what you may want is to not have sharp edges and make a blur in edges of the shape, you can increase the Bevel Width to the value you may want to make the particles become transparent in the edges of the shape and mix with the background  |
|||||
| Posted: May 16, 2020 2:43 pm | ||||||
|
SpaceRay
|
I have been using the Concentric circles as particles but they can also be used as a mask for the Opacity with some size chaos
Repeat 18 and Density 2  |
|||||
| Posted: May 16, 2020 2:55 pm | ||||||
|
SpaceRay
|
You can also use the Curves to modify the Gradients and have this kind of stripes as for example here
 |
|||||
| Posted: May 16, 2020 3:01 pm | ||||||
|
SpaceRay
|
You can mix if want two bombers with an inverted stripes on one of them and blend them
 |
|||||
| Posted: May 16, 2020 3:08 pm | ||||||
|
SpaceRay
|
I will put here a filter with different possible options for you to try yourself using FF 8.0 so you can experiment and not only see screenshots
All these examples shown above can also be used in the normal bomber if you use one chance and one particle and disable the other ones, but for using the normal bomber I will make a new thread as it may be different and it has more options available If you have any other tips, tricks or advice on using the Mask for Opacity in bomber plus you are welcome to put it here thanks very much |
|||||
| Posted: May 16, 2020 3:10 pm | ||||||
|
Indigo Ray
|
Hey Spaceray, did you know you can make your last example with the red and blue stripes using only ONE Bomber Plus?
You just need to use a "helper" component. (FF calls them slave components but I'm not into that stuff) See below. Maaaaany possibilities open up when you do stuff like this. To create a helper component for the bomber plus, select the bomber plus and scroll down past all the controls to the buttons that say "add ___".  |
|||||
| Posted: May 16, 2020 8:01 pm | ||||||
|
SpaceRay
|
Thanks very much for your answer and help and for for taking the time to build that very good and well explained screenshot to make easy to understand and is really great and much appreciated
No, I did not know that what you are showing as I have never been able to understand and know how the helper components you call are working and how to use them in the right way, I just learned to use slightly only the Randomizer helper thanks to the Skybase Loops Tutorial video.
Yes, I agree that lots of possibilities would open if you understand and know how to use all the available "helpers" in the Plus components, and would be really good that someone could explain how to use them and what can be done Thanks very much again for showing an example of how can be used these helpers to build the stripes example, is cool, useful and interesting |
|||||
| Posted: May 19, 2020 6:22 pm | ||||||
|
SpaceRay
|
I have another additional options to use as mask for the Opacity in Bomber and is the following filters I have found
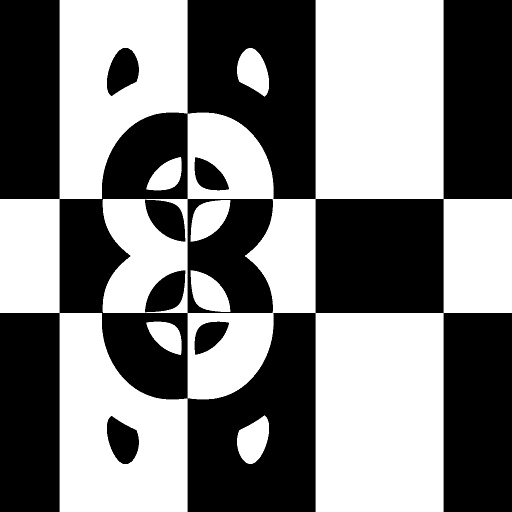
For these ones, you can either render the result from the filters and use a color control to load the images in the Opacity or copy the filter and connect it to the bomber Opacity ------------------------------------------------------------------------------------------------------ ------------------------------------------------------------------------------------------------------ One Millon alphas filter by CorvusCroax that is able to create black and white shapes in different ways 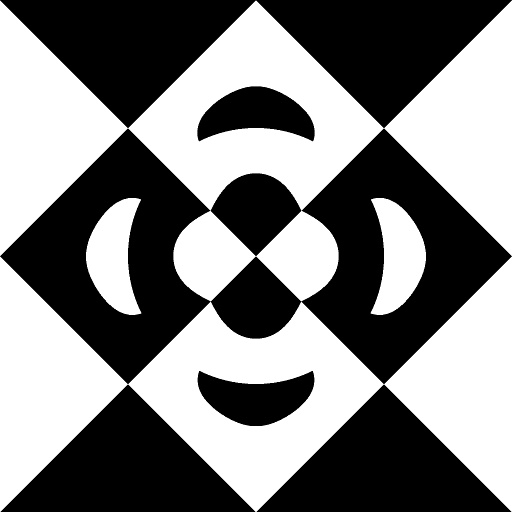
------------------------------------------------------------------------------------------------------ ------------------------------------------------------------------------------------------------------ Or the beautiful and lovely geometric shapes of Optical Chaos 3 by Skybase Be aware that if you are using any of the colors, it will be converted to greyscale values and will have maybe some possible transparency, so if you want full solid shapes from bomber you must use only black and white in this filter 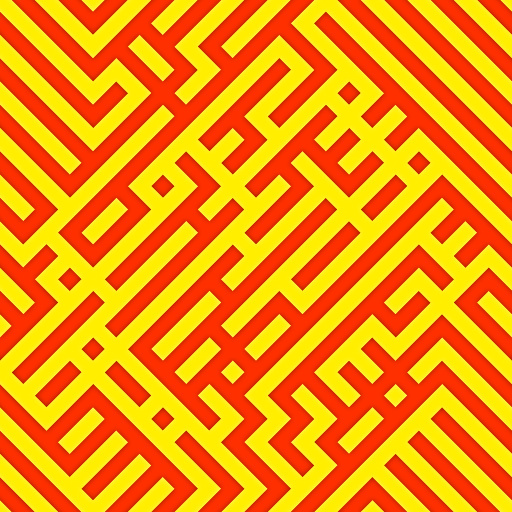
------------------------------------------------------------------------------------------------------ ------------------------------------------------------------------------------------------------------ Yin&Yang by Betis 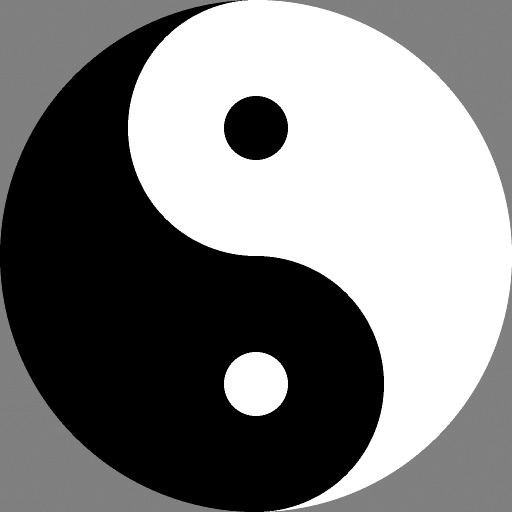
------------------------------------------------------------------------------------------------------ ------------------------------------------------------------------------------------------------------ and this one Shape bonanza by voldemort 
------------------------------------------------------------------------------------------------------ ------------------------------------------------------------------------------------------------------ or the nice and well done lines of Lines World Cup SQ - Lite by Ramlyn 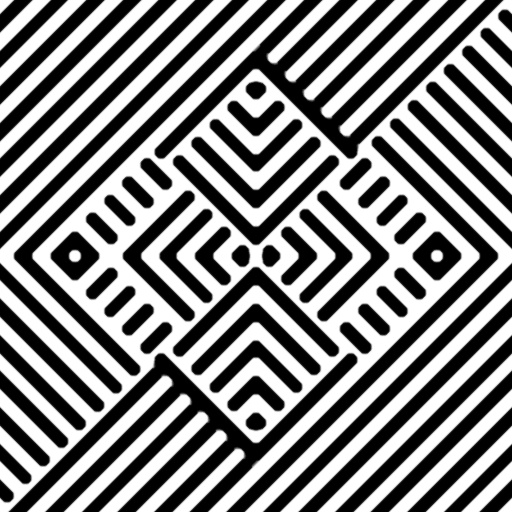
------------------------------------------------------------------------------------------------------ ------------------------------------------------------------------------------------------------------ Or this great and lovely circular shapes LRM - Lines Rotation Machine 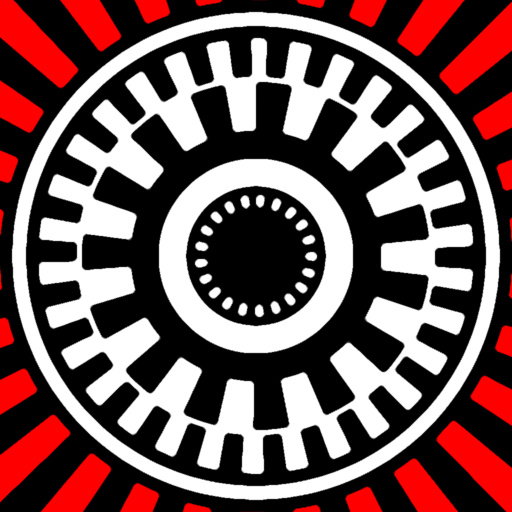
Be aware that if you are using the red color, it will be converted to greyscale and will have maybe some possible transparency Optical Chaos 3 by Skybase |
|||||
| Posted: May 20, 2020 6:26 am | ||||||
|
SpaceRay
|
Want thank again to Indigo Ray for his help as I agree that this suggestion may be very useful and I have just found a possible use and is to make stripes with color butterflies as seen here below. I will try and see what can be done The image below belongs to this company here that sells fabrics  |
|||||
| Posted: October 4, 2020 3:23 am | ||||||
mitaywalle
 |
You can use 'If' 'Randomizer' > 'Chance Control' + SetAlpha + in Bomber Plus -> Particle
 Randomize everithing! |
|||||
| Posted: November 13, 2020 3:46 pm | ||||||
|
mitaywalle
|
||||||
| Posted: November 13, 2020 3:46 pm | ||||||
|
SpaceRay
|
Thanks very much for this useful and interesting way of having a chance slider in Bomber plus, cool. Will see what I can do with it and how it works and what things can be done, Much aprecciated as you have unique and great ways to do things |
|||||
| Posted: November 17, 2020 7:22 pm | ||||||
|
mitaywalle
|
Also you can combined global image / Slider approaches this way
 Randomize everithing! |
|||||
| Posted: November 23, 2020 3:45 pm | ||||||
|
mitaywalle
|
||||||
| Posted: November 23, 2020 3:45 pm | ||||||
|
mitaywalle
|
this way work if you feed Checker to Bomber Plus Opacity
 Randomize everithing! |
|||||
| Posted: November 23, 2020 3:52 pm | ||||||
|
mitaywalle
|
and this way with my snippet posted earlier
 Randomize everithing! |
|||||
| Posted: November 23, 2020 3:52 pm | ||||||
|
SpaceRay
|
Now after FF Studio has now animation, I thought that if you animate the source that you feed to the opacity you would also in theory animate the bomber result too
Will have to test it myself as it could be very interesting |
|||||
| Posted: March 11, 2024 5:55 pm | ||||||
Join Our Community!
Filter Forge has a thriving, vibrant, knowledgeable user community. Feel free to join us and have fun!
33,815 Registered Users
+14 new in 30 days!
153,728 Posts
+27 new in 30 days!
15,379 Topics
+6 new in 30 days!
Online Users Last minute:
14 unregistered users.
Recent Forum Posts:
- Chaos Fields by Rachel Duim
June 14, 2026 - Unleashing creativity art with the help of filter forge 11 by EAdams
June 14, 2026 - FF 11 and FF 12 Studio animations that could maybe be done I think by CFandM
June 8, 2026 - BB - BubbleBlocks by Ramlyn by Ramlyn
June 2, 2026 - Dragon Distort II by Wolfgang Halder by Wolfgang Halder
June 1, 2026 - Multi Refraction by aaron Harris by SpaceRay
June 1, 2026 - Flashing Messages 3x6 by Rachel Duim by SpaceRay
May 28, 2026 - New awesome TEXT component FF 14 - How to get the most of it? by SpaceRay
May 28, 2026 - Just dropping in to say by Rachel Duim
May 24, 2026 - Veggie Rock by Vanblam by dactilardesign
May 22, 2026 - Snippet - A refinement for terrain and world generating filters by David Roberson
May 17, 2026 - FilterForge as an Art Tool by Rod Detmer
May 7, 2026